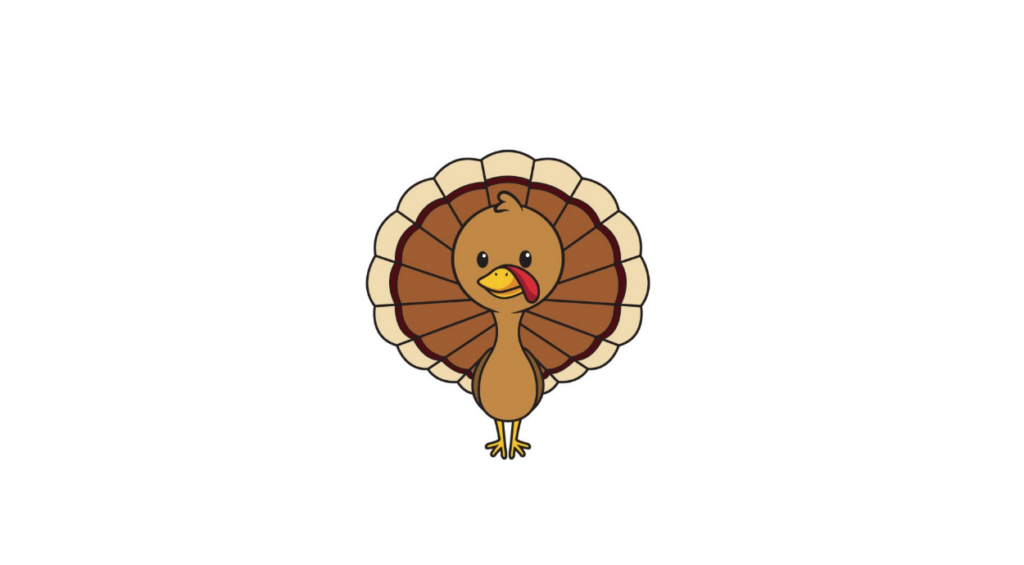
How to Draw A Turkey. The turkey is a large bird with two species: the wild turkey of eastern and central North America and the eyed turkey of Mexico’s Yucatán Peninsula.
Also, check our Adult Coloring Pages.
The turkey we see often is called the “common turkey,” a native wild bird largely domesticated for consumption. The peculiar appearance of turkeys has led to a great demand for a free turkey drawing tutorial.
So we’ve put together a step-by-step tutorial on how to draw a turkey, condensed into 9 simple instructions paired with simple illustrations.
How to Draw A Turkey
Step 1
First, draw a perfect circle just above the center of the paper. Next, draw a diagonal and curved W-shaped line to create a feathery texture on the top of the head.
Remember to draw with light strokes when making rough outlines and sketches. This ensures that you can later easily remove lines from the outline you no longer need. This also helps keep your drawing neat.
Step 2
Just below the turkey’s head, draw an oblong shape with a narrow top and wider bottom to form the body.
Note that the turkey’s lower body should be round, as shown in the image above.
With good drawings, the body shape should resemble a vase.
Step 3
Draw thin legs side by side under the turkey’s body. Don’t forget to attach a three-clawed foot to the bottom of each leg.
Try to make the thighs and drumsticks of the turkey as identical as possible.
Step 4
Draw a curved line on each side of the turkey’s body.
The curved line should follow the contour of the turkey’s body and give the impression of a perfectly still pair of wings on either side of the turkey’s body.
Step 5
Now it’s time to draw the turkey’s most distinctive physical features: the feathers on its back!
It looks especially nice when laid out flat, which we will draw in this step.
Draw a wavy line starting on the left side of the turkey’s body and going to the top of the head. This creates the outline of the feathers in half.
Step 6
Repeat the previous step until the feather outline forms a complete round shape, as shown in the image above.
The figure should reach from one side of the turkey’s body to the other and encompass the entire upper body.
At this point, the outline of the fanned feathers is complete.
Step 7
Draw more straight lines from the center to each pointed end of the outline we drew in the previous step.
Note that all lines must follow the contour structure.
Step 8
Draw two parallel figures inside the outline, following its original shape. Like the outline we drew earlier, the figure should go around the top of the turkey’s head and body.
There should be a small gap between the edge of the feathers and this figure, as shown in the picture above.
Step 9
Complete your artwork by drawing features on the turkey’s face. Draw two oval shapes standing in the turkey’s face to outline the eyes. Next, draw two small circles in each eye.
Now shade all the eyes except for the small circles inside. This creates a dramatic effect and makes the eyes sparkle!
Draw an irregular rectangular shape for the beak with a small curve below it. Don’t forget to add an elongated, curved figure at the top of the beak!
This creates the snood, one of the turkey’s most distinctive physical features!
Great job on successfully drawing a turkey! Now we’re finally at the most exciting stage, coloring the turkey!
Although turkey colors vary widely, white is typically the predominant color, accompanied by shades of black and dark grey, particularly on the back, wings, and tail feathers.
As you can see in the image above, we kept the turkey colors light and simple. We used different shades of brown to make the turkey colorful!
Your Turkey Drawing is Finished!
You may also like
-
Join The IATA-Certified Airline & Cabin Crew Training – Neerja School of Aviation
-
How to Become an Angel Investor: Easy Guide for Beginners
-
Which Institute Offers the Best Google Ads Course in Karachi?
-
Easy Tips for CBSE Sample Paper 2025-26 Practice
-
Top Mistakes to Avoid When Writing a Book Report in 2025

