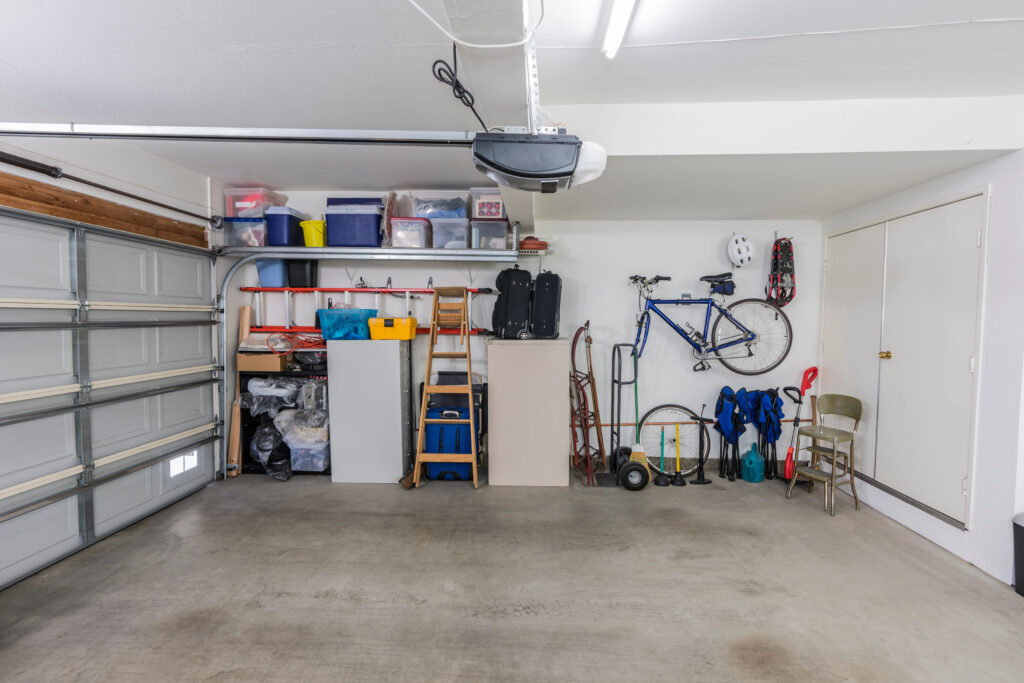
Running overhead electrical wire to a garage is a common task that many homeowners or DIY enthusiasts undertake to provide power to their detached garages. By doing this task correctly, you can ensure a safe and efficient electrical connection. This article will guide you through the process of running overhead electrical wire to your garage, providing step-by-step instructions and essential safety tips.
Understanding Overhead Electrical Wiring
Before diving into the process, it’s crucial to understand the concept of overhead electrical wiring. In this setup, electrical wires are installed above ground level, typically supported by utility poles or other structures. Overhead wiring is a practical solution for providing power to a garage when burying cables underground is not feasible or desirable.
Planning and Preparation
Before starting any electrical project, careful planning is essential. Begin by determining the power requirements of your garage, including the number and type of electrical devices you intend to connect. Assess the distance between the main electrical panel in your home and the garage, as this will influence the gauge and length of wire needed. Additionally, check local building codes and regulations to ensure compliance.
Safety Precautions
Working with electricity requires strict adherence to safety precautions. Prioritize safety by shutting off the power to the areas you will be working on. Use a voltage tester to confirm that the wires are de-energized before proceeding. Wear appropriate safety gear such as gloves, safety glasses, and non-conductive footwear. If you’re unsure about any aspect of the project, consult a qualified electrician.
Tools and Materials Required
To successfully run overhead electrical wire to your garage, gather the following tools and materials:
- Ladder or scaffolding
- Measuring tape
- Wire strippers
- Wire cutters
- Screwdrivers
- Hammer
- Electrical tape
- Conduit bender (if using conduit)
- Electrical wire (suitable gauge and length)
- Utility poles or support structures
- Wire hangers or clamps
- Junction boxes
- Wire connectors
- Grounding materials
- Cable ties
Step-by-Step Guide on Running Overhead Electrical Wire
- Determine the route: Identify the path the electrical wire will follow from your home to the garage. Ensure it avoids obstacles such as trees, other buildings, or potential hazards.
- Install utility poles or support structures: If needed, set up utility poles or support structures at appropriate intervals to provide stability and elevation for the wire.
- Measure and cut the wire: Measure the required length of wire from the main electrical panel to the garage. Add a few extra feet to account for any unexpected turns or adjustments. Cut the wire to the appropriate length.
- Attach the wire to the support structures: Use wire hangers or clamps to secure the wire to the utility poles or support structures. Ensure the wire is taut but not overly stretched.
- Install junction boxes: Install junction boxes at suitable intervals along the wire route. These boxes will serve as access points for making connections and housing splices.
- Strip and connect the wires: Strip the insulation from the ends of the wire and connect them to the corresponding terminals in the junction boxes, following proper wiring techniques and color coding.
- Ground the wire: Ensure proper grounding by connecting the wire’s grounding conductor to grounding materials, such as grounding rods or the main electrical panel’s grounding system.
- Secure and protect the wire: Use cable ties or appropriate fasteners to secure the wire to the support structures and prevent it from sagging or coming into contact with sharp edges.
- Weatherproof the connections: Apply electrical tape or use weatherproof connectors to protect the wire connections from moisture and other environmental factors.
- Test and inspect: Once the wire is securely installed, restore power and test the electrical connection using a voltage tester. Inspect all junction boxes and connections for any signs of damage or loose wires.
- Troubleshooting common issues: Familiar

