Introduction:
Water damage can be a homeowner’s worst nightmare. Whether it’s caused by a burst pipe, a leaky roof, or a natural disaster, the aftermath of water damage can be overwhelming. However, knowing the proper steps for water damage restoration can make the process more manageable and minimize the potential long-term effects on your property. In this comprehensive guide, we will take you through the step-by-step process of water damage restoration, from initial assessment to final repairs.
Step 1: Assess the Damage
The first step in any water damage restoration process is to assess the extent of the damage. Carefully inspect the affected areas, including walls, ceilings, floors, and furniture. Determine the source of the water and whether it is clean, gray, or black water (from contaminated sources). This assessment will help you understand the scope of the restoration required and aid in insurance claim procedures.
Step 2: Ensure Safety
Safety should always be a top priority during water damage restoration. Turn off the electricity to the affected areas to avoid the risk of electrocution. If standing water is present and you are unsure about the level of contamination, avoid contact and use personal protective equipment such as gloves, boots, and masks. It is also advisable to seek professional assistance for hazardous situations.
Step 3: Remove Standing Water
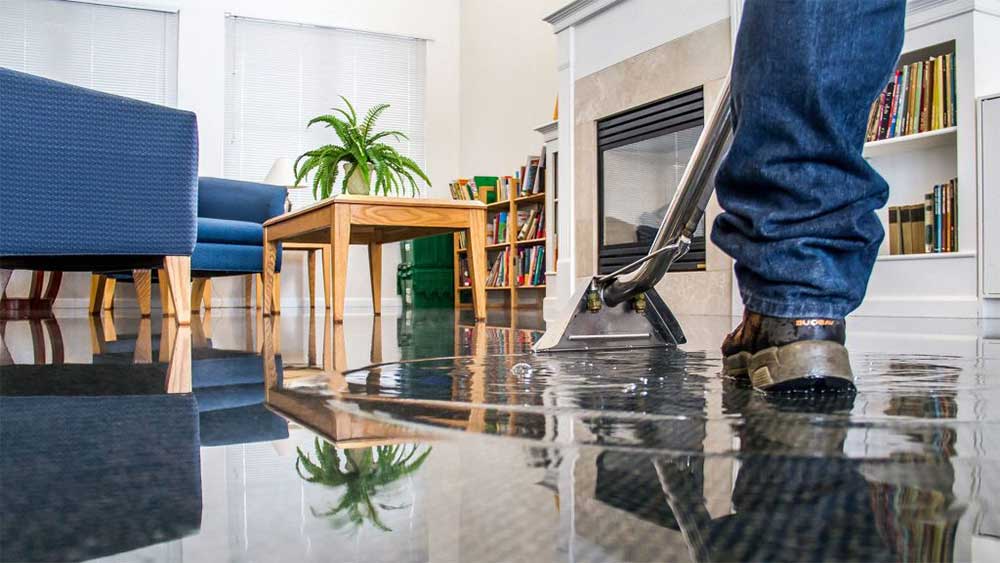
Once safety measures are in place, it’s time to remove standing water from the affected areas. Depending on the amount of water, you can use pumps, wet-dry vacuums, or buckets. If the water has seeped into walls or floors, you may need to use specialized equipment to extract it effectively.
Step 4: Dry and Dehumidify
After removing the standing water, the next crucial step is to thoroughly dry the affected areas and reduce moisture levels. High-powered fans, dehumidifiers, and other drying equipment should be employed to accelerate the drying process and prevent mold growth. It’s essential to continue this process until all surfaces are completely dry.
Step 5: Salvage and Cleanup
Items affected by water damage, such as furniture, carpets, and personal belongings, should be salvaged if possible. Remove and properly clean or dispose of damaged items that cannot be salvaged. Thoroughly clean and disinfect all surfaces to prevent the growth of mold and bacteria.
Step 6: Mold Inspection and Remediation
Even after thorough drying, water damage can create a breeding ground for mold. Conduct a mold inspection to ensure no hidden mold growth is present. If mold is detected, professional mold remediation should be undertaken to prevent health issues and further damage.
Step 7: Structural Repairs
With the affected areas cleaned and free from mold, it’s time to start the structural repairs. This step may include replacing damaged drywall, flooring, insulation, and other building materials. Ensure that repairs are performed thoroughly and professionally to prevent future issues.
Step 8: Restoration and Renovation
Once the structural repairs are completed, it’s time to restore your property to its pre-damage condition. Repaint walls, replace carpets, and reinstall fixtures and appliances as needed. Take this opportunity to consider renovations that could make your property more resilient to future water damage.
Step 9: Preventive Measures
To reduce the risk of water damage in the future, take preventive measures. Regularly inspect your property for leaks, maintain gutters and downspouts, seal cracks and gaps, and consider installing a sump pump or a water leak detection system.
Conclusion:
Water damage restoration is a complex and multi-step process that requires careful assessment, prompt action, and attention to detail. By following the steps outlined in this guide, you can minimize the impact of water damage on your property and ensure a safe and efficient restoration process. Remember, when in doubt or facing extensive damage, it’s best to seek the expertise of professional water damage restoration companies to ensure a successful recovery.
You may also like
-
The Silent Battle Beneath: Understanding the World of Wormfare
-
Unveiling the White CBG Strain: Characteristics, Potency, and Therapeutic Benefits
-
Why Choose Growers Choice Seeds for Buying Marijuana Seeds
-
What type of clothes wear in Qatar Business class?
-
Obtained Review – Get What Your Business Needs to Fuel Expansion

