In the technology era, a reliable and secure network connection is essential. Wavlink WiFi extender provides a flawless network experience. To remove the dead zone of the home, users need to log in to their Wavlink extender interface. If you think about how to login then no need to worry. In this comprehensive guide, we will walk you through the process of Wavlink login.
Steps to Set Up Wavlink Extender
The process to setup a Wavlink WiFi range extender is quite easy. There are two ways to perform an extender setup. Follow the steps given below to complete the procedure.
Wavlink Extender Setup via Manual Method
One of the most common ways to finish the Wireless range extender setup is through a web browser.
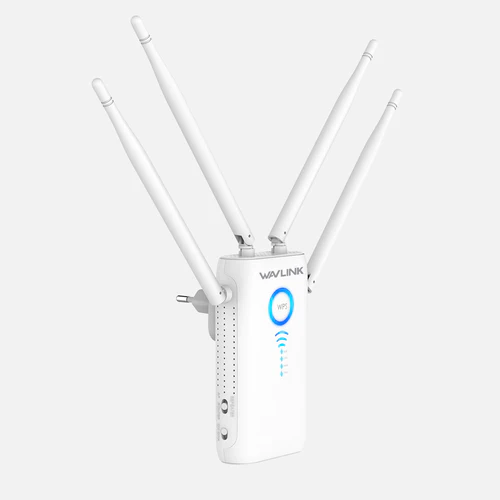
- Unbox the Extender
The first thing you need to do is unpack the box. In the box, you will receive a power adapter, user manual, Ethernet cable, or extender. Ensure that all the accessories in the box are not faulty.
- Position the Extender
Make sure that you place the wireless range extender and router within the range. But away from the objects like washing machines, cordless phones, fish tanks, insulated walls, mirrors, microwaves, and Bluetooth speakers. The reason being is, these objects transmit the signal.
- Connect the WiFi Devices
Connect your Wavlink range extender to the host router using an Ethernet cable. Be sure that the cable connection is not loose. Along with that, also confirm that the Ethernet cable is not damaged. In case, it is replaced it instantly.
- Open Internet Browser
Once you connect the devices, switch on a laptop or computer and launch a web browser. You can choose any of the browsers as per your device’s accessibility such as Opera, Google Chrome, Brave, Internet Explorer, or Apple Safari. To avoid any technical issues, be sure that your browser is running on the latest version. Apart from this, also clear all the cache, cookies, and browser history.
- Access Login Page
As soon as you open a browser, go to the address bar of it. Here, type the default web address and hit the Enter button. Make sure that you entered the correct web URL otherwise, you are not able to access the login page. To get accurate results always use the location bar instead of the search bar.
- Enter Admin Details
The moment you press the Enter key, the Wavlink extender login page will come into view. Fill in the default login credentials in the given fields and click on the log In button. In case, you don’t know about the default username and password then take the assistance of the user manual.
Now, follow the AP setup on-screen instructions to complete the Wavlink setup. Apart from this, you can also use the WPS button to configure the Wavlink WiFi range extender. Follow the below-mentioned steps to install the wireless range extender.
Wavlink Extender Setup via WPS Button
One of the easiest ways to configure the extender using the WPS (wireless protected setup) button.
- Place the Wavlink extender near the host router.
- Now turn on the WiFi range extender and wait for a few seconds till the LED gets stabilized.
- Once the LED light turns on, press the WPS button on the extender.
- Now, find the WPS button on the router and hold it for some time.
- After a few seconds, you will see a green light blinking on both the router and extender.
- Wait for a couple of minutes to sync the wireless range extender with the home WiFi system.
- The Wavlink WiFi extender setup process is completed successfully.
- Login to the Ap.setup page to finish the installation process.
In this manner, you can easily set up the Wavlink WiFi range extender.
The Bottom Line
That’s it! we conclude our guide on how to perform the Wavlink extender setup. we hope that with the help of the tips mentioned in this article, you will surely be able to log into your extender without any technical issues blocking your path. Thank you for reading the post.