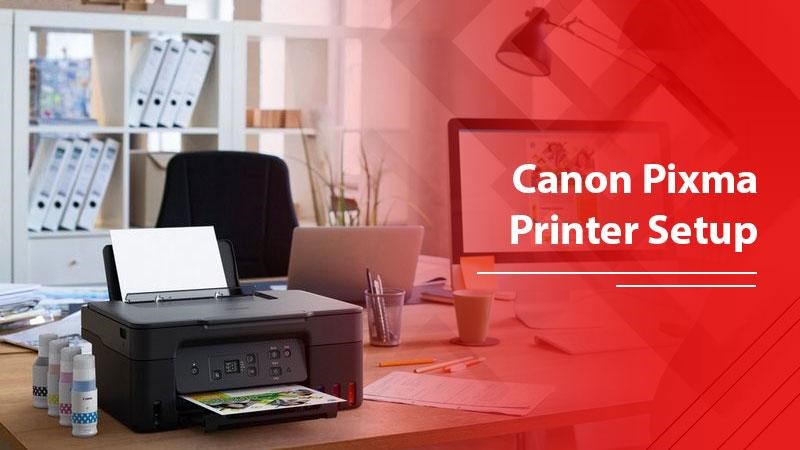
The Canon PIXMA iX6820 is a high-quality, versatile printer with an excellent wireless printing experience. With its sleek design and advanced features, it can easily cater to both home and office needs. But, for many users, the Canon Pixma printer setup may seem daunting.
Don’t worry! In this blog, we will guide you through establishing a Canon PIXMA iX6820 wireless setup in a simple and efficient manner.
System Requirements for Canon Pixma Setup
Before diving into the main steps, ensuring that your system meets the requirements for a smooth wireless setup is important. The following are the prerequisites for Canon Pixma printer setup:
- A compatible computer, smartphone, or tablet with a Wi-Fi connection.
- A wireless router that supports IEEE802.11b/g/n standard.
- A stable and secure Wi-Fi network with a password (if required).
- Additionally, a Canon PIXMA iX6820 printer with wireless LAN functionality.
- Printer drivers and software installed on your device (you can download the necessary files from the Canon website).
Steps for Canon Pixma Printer Setup
Now that you have ensured that your system meets the requirements let’s proceed with the step-by-step guide to set up your Canon Pixma printer setup. Following are:
Step 1: Turn on your printer
Firstly, make sure your printer is plugged in, and turn it on by pressing the power button. Wait for the printer to initialize and display the main screen.
Step 2: Enable Wi-Fi on your printer
Secondly, press the Wi-Fi button on the printer’s control panel. The blue Wi-Fi indicator light should start to blink, indicating that the printer is searching for available networks.
Step 3: Connect the device to the Wi-Fi
Now, on your computer, smartphone, or tablet, navigate to the Wi-Fi settings and connect to the network you want your printer to connect to. Ensure your device connects to the Wi-Fi network before proceeding to the following step.
Step 4: Install the printer drivers and software
If you haven’t already, download and install the necessary printer drivers and software on your device. You can find the required files on the Canon website by searching for your printer model. Now proceed to the following step.
Step 5: Run the Wireless Setup Utility
After the drivers and software installation, run the Wireless Setup Utility on your device. This utility will guide you through connecting your printer to the Wi-Fi network.
Step 6: Select your printer
After that, a list of available printers will be displayed in the Wireless Setup Utility. Choose your Canon PIXMA iX6820 printer from the list and click ‘Next.’
Step 7: Choose your connection method
In the next step, the utility will prompt you to select your preferred connection method. Choose “Wireless LAN Connection” and click ‘Next.’
Step 8: Select your wireless router
Afterward, a list of available wireless routers will be displayed. Select the router you want to connect your printer to and enter the password (if required). Click ‘Next’ to proceed.
Step 9: Confirm the network settings
The utility will display the network settings for your printer. Review the settings and click ‘Yes’ if they are correct. After that, the printer will attempt to connect to the wireless network.
Step 10: Complete the setup
Once the printer successfully connects to the network, a confirmation screen will appear. Lastly, click ‘Next’ and ‘Complete’ to finish the setup process. Your Canon PIXMA iX6820 is now connected to the Wi-Fi network, and you can start printing wirelessly.
Conclusion
Canon PIXMA setup, which is wireless, may seem challenging at first, but by following this step-by-step guide, you can easily establish a wireless setup without any hassle. Remember to ensure your system meets the requirements and download the appropriate drivers and software for a seamless experience. With your Canon PIXMA iX6820 now connected to your Wi-Fi network, you can enjoy the convenience of wireless printing from your computer, smartphone, or tablet. Thank You!
You may also like
-
Enhancing Customer Engagement: Innovative Applications of Clarity Voice’s Communication Solutions
-
Solar Energy Solutions: A Sustainable Step Toward Long-Term Growth
-
AI Story Generator Free: A Smarter Way to Spark Creativity
-
Modern Technologies in 2025: AI and Innovative Solutions
-
Mastering Odoo Implementation for Business Success

