India, known for its diverse culture and rich history, has become one of the popular destinations for global travelers.
Unexpected circumstances or urgent situations may necessitate a prompt visit to the country.
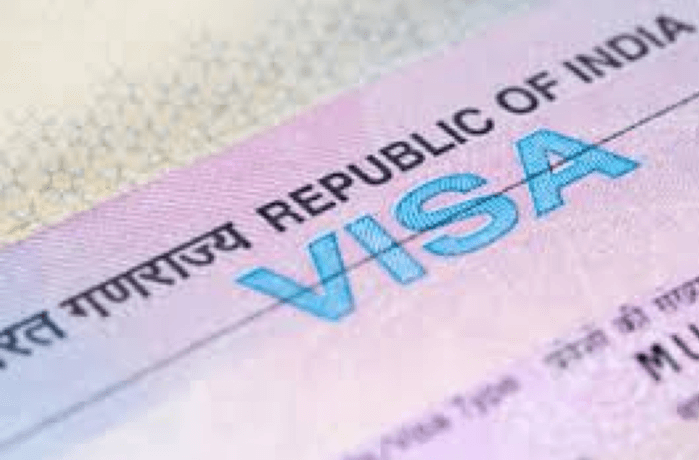
This is where the urgent/emergency Indian visa comes into play. An urgent Indian visa, commonly known as an e-visa, can be obtained more quickly than through traditional processes. British citizens can now travel to New Zealand without a visa by applying online for an eTA. The eTA is a multi-entry visa waiver that can be obtained quickly and easily. How can we apply NEW ZEALAND VISA FOR BRITISH CITIZENS & NEW ZEALAND VISA REQUIREMENTS
Here’s a detailed guide on how to apply for an urgent/emergency Indian visa:
- Check Eligibility Before initiating the application process, ensure that your country is among those eligible for an Indian e-visa.
More than 160 countries qualify for the e-visa program. Additionally, ensure you meet the purpose criteria for an emergency visa. which typically include urgent medical treatment, death of a family member, or other serious issues requiring immediate travel. - Collect Required DocumentsYou’ll need to gather specific documents, including:
- A valid passport with at least six months of remaining validity and at least two blank pages.
- Recent color photographs as per the specified dimensions.
- Proof of residency or a copy of your driver’s license.
- A detailed letter explaining the urgency of your travel, which must include enough details to justify your immediate need for the visa.
- Start the Online Application Process Visit the official Indian e-Visa website and choose the ‘e-Visa Application’ link. Make sure you have all the required documents in a digital format since you’ll need to upload them during the application process. Fill out the application form accurately and completely.
- Upload Your DocumentsFollow the prompts to upload the scanned copies of your required documents. Make sure to upload clear, readable copies of your documents as they play a crucial role in the approval of your application.
- Pay the Visa FeeThe cost of the visa varies depending on the nationality of the applicant and the urgency of the application. After completing the form and uploading documents, proceed to pay the visa fee online using a credit or debit card.
- Review and Submit Your ApplicationBefore submitting your application, review all the details for accuracy. Any inconsistencies or mistakes might lead to delays or rejections. Once you’ve verified the information, submit your application.
- Wait for Confirmation After submission, the application is processed, which usually takes 1-3 business days for urgent emergency visa.
If approved, the e-visa will be sent to your registered email address. - Travel to India Upon receiving your e-visa, print it out and carry it with your passport when you travel to India. Upon arrival, immigration authorities will check your e-visa and passport before granting entry.
While the process is straightforward, bear in mind that the approval of your application is at the discretion of the Indian government. Providing accurate and comprehensive information will enhance your chances of obtaining your visa on time.
Also, be aware that travel advisories and visa rules are subject to change based on global situations. Always check for the latest information from official government sources before applying.
Safe travels!
You may also like
-
Red Rocks to Deep Blue: Mastering Scuba Certification in Southern Utah
-
How St George Professionals Can Reverse Desk-Related Chronic Tension
-
How Southern Utah Homeowners Choose Flooring That Withstands High Heat and Red Dust
-
How Mid-Career Professionals Can Bridge the Gap to a Comfortable Retirement
-
How Families in the Grand Strand Balance Career Demands with Senior Care