Hot glue guns are fantastic tools for various arts and crafts projects. However, sometimes accidents happen, and you may find yourself dealing with crayon residue inside your hot glue gun. The waxy crayon can cause blockages and affect the gun’s performance. But don’t worry, with the right approach. You can easily clean crayons out of a hot glue gun. In this step-by-step guide, we will walk you through the process.
Before You Begin: Ensure the hot glue gun is unplugged and completely cooled down. Attempting to clean a hot glue gun while still hot can result in burns or injuries. Give it enough time to cool down to room temperature before proceeding.
Step 1: Disassemble the Glue Gun: Start by disassembling the hot glue gun as much as possible. Depending on the model, you may be able to remove the nozzle, trigger, and other removable parts. Consult the manufacturer’s instructions for guidance on disassembling your glue gun model.
Step 2: Remove Excess Crayons: Using a plastic scraper or a blunt tool, gently scrape off any excess crayon residue from the inside of the glue gun. Be careful not to scratch or damage the gun’s components. You can also use a toothpick or cotton swab to remove smaller bits of crayon lodged in crevices or hard-to-reach areas.
Step 3: Heat the Glue Gun: Plug in the glue gun and let it heat to its regular operating temperature. The heat will help soften the remaining crayon residue, making removing it easier.
Step 4: Wipe the Nozzle: While the glue gun is heating up, take a clean cloth or paper towel and wipe the nozzle. The heat will cause the remaining crayon to melt, and the cloth will absorb the melted crayon. Repeat this process until you see no crayon residue on the cloth.
Step 5: Clear the Blockage: If the crayon residue has caused a blockage in the nozzle, you may need to clear it using a thin wire or a cleaning tool. Carefully insert the wire or tool into the nozzle and gently push it through to dislodge clogs. Be cautious not to apply excessive force, which could damage the glue gun.
Step 6: Clean Removable Parts: If you have removed any components, such as the nozzle or trigger, clean them separately. Use warm, soapy water and a soft brush or cloth to remove any remaining crayon residue. Rinse thoroughly and allow the parts to dry completely before reassembling the glue gun.
Step 7: Reassemble and Test: Once all the components are clean and dry, reassemble the glue gun following the manufacturer’s instructions. Ensure that all parts fit securely and are aligned correctly. Plug in the glue gun and allow it to heat up to the operating temperature. Test it by dispensing a small amount of glue to ensure it functions properly.
Step 8: Prevent Future Crayon Mishaps: To avoid future crayon-related incidents, establishing some preventive measures is a good idea. Store your hot glue gun in a safe, secure place away from children’s reach. Consider using a dedicated workspace or a protective mat to catch accidental drips or spills. Additionally, remind yourself and others to avoid using crayons near the hot glue gun to minimize the chances of crayon residue entering the gun.
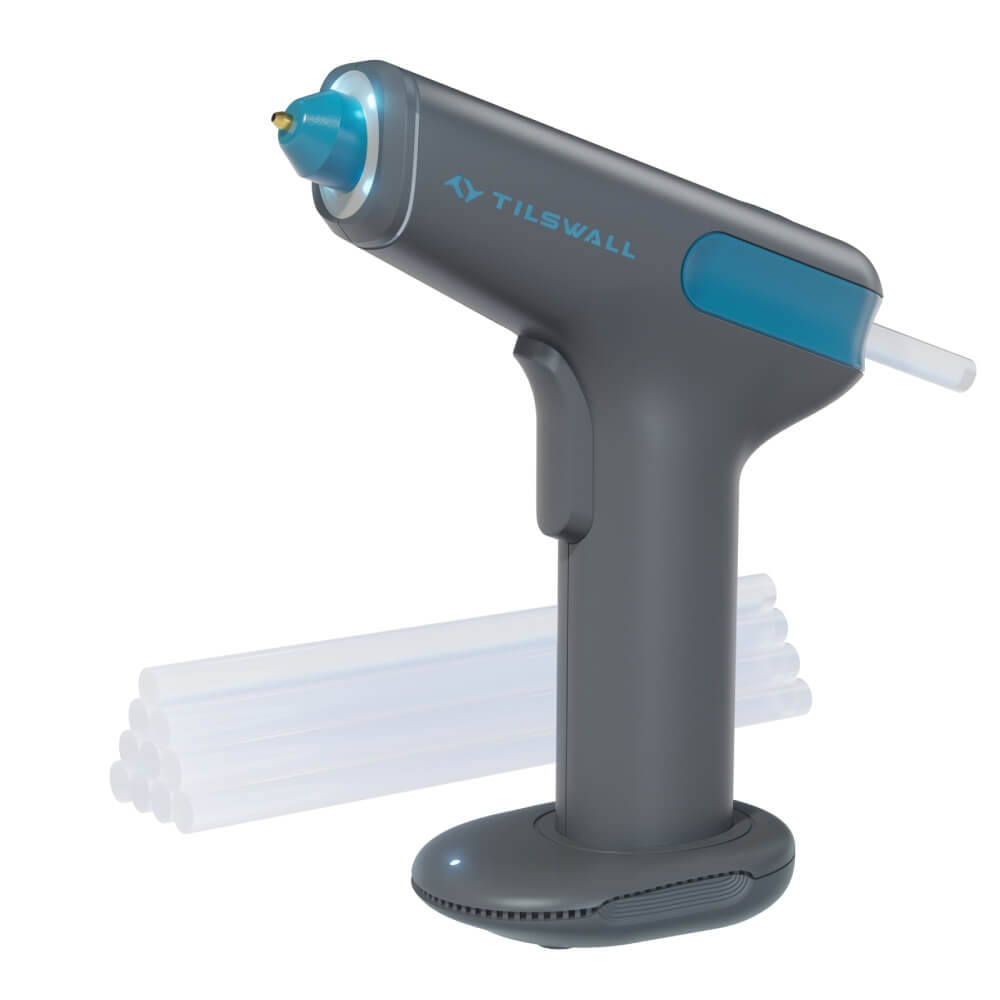
Tilswall 4V Cordless Auto Hot Glue Gun
Built-in motor, you don’t need to manually press the trigger reciprocally, glue comes out uninterrupted, Tilswall hot glue gun will make your DIY easier by providing more convenience for your craft. More importantly, Tilswall’s glue gun is electric with 4Ah capacity lithium battery, and glue can be released without repeated pressing, without dripping glue, and the desktop is clean after use. If you’re looking for a reliable and efficient glue gun, Tilswall is the way to go. There is a 30% off new product discount.
Coupon code: Tilswallgun
In conclusion, cleaning crayons out of a hot glue gun is a manageable task with the right approach. Following these step-by-step instructions and taking the necessary precautions, you can effectively remove crayon residue from your hot glue gun and restore its functionality. Remember to prioritize safety, patience, and attention to detail throughout cleaning. Happy crafting!