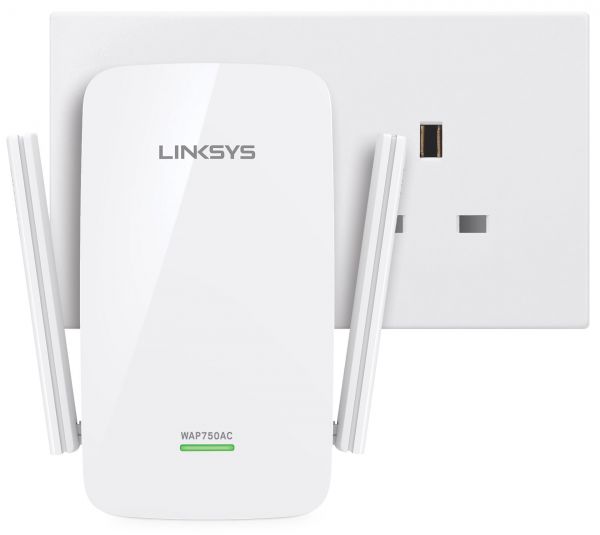
Linksys is the most popular brand for getting routers and extenders worldwide, and that’s not likely to be changed anytime soon. Well, the efficiency and ease of use of the Linksys WiFi devices have made it a top-notch option in the market. No matter which Linksys extender model you have, setting it up is as easy as counting 123. Here, in this post, we’re going to throw light upon how to do a Linksys extender setup using the WPS method. We are taking Linksys RE6300 as an example. However, you can use the steps for the Linksys WiFi range extender model you have. Let’s get started!
Linksys RE6300 Setup Using WPS Method
Linksys RE6300 is a great WiFi extender that helps in increasing the range of your current WiFi network. With the successful configuration of the device, it becomes possible to get access to the internet in any area of your home. For setting up the device, however, you need to execute the proper process. Walk through the steps below to make your Linksys RE6300 WiFi range extender up and running in a matter of minutes.
Before you commence the process of doing the WPS setup, make sure you have access to the following:
- Linksys RE6300
- A router that supports WPS setup
- High-performing Internet Connection
- Non fluctuating Power Supply
Once you have all these things available, start following the steps below for doing the Linksys RE6300 extender setup using the WPS method.
Place the Devices
First of all, you need to place your Linksys wireless range extender. Thus unbox it if it is a brand new one. Place it at the most suitable location. The best location is near the host router. So, bring the Linksys extender to the same room where the router has been placed.
Although after completing the extender setup, you can change the location of your device as per your WiFi needs.
Power up Your Extender
Next, you need to plug in your extender to a wall socket giving sufficient power supply. The outlet you choose for plugging your extender must be near to the place where your router is already being installed.
Now, connect the power cable of the router also to a power socket. Ensure that the devices are receiving a proper and non-fluctuating power supply.
Locate and Press WPS Button
Once you are all done with the processes enlisted above, locate the WPS button on your extender and press it. The location of the WPS button may differ from model to model. So, check all the sides of your extender to find the WPS button. After pressing the button on your extender, you need to locate and press the WPS button on your router as well. The time gap between both actions should not exceed 2 minutes. Let the devices get connected now.
Configure Your Extender
Pressing the WPS button on both devices will initiate the setupprocess. Now, access the Linksys extender login page using the default IP and try accessing its settings. From there, choose the WPS setup option for your extender and you’re all done!
Congratulations! Your Linksys RE6300 Extender has been installed in a successful manner. This is the message you would get on your screen.
After completing the setup process of your Linksys extender, you can connect your client devices to its network and start enjoying the internet the way you want.
The Final Note
With this, we conclude our helpful post about setting up the Linksys extender using the WPS button. Now that the setup is completed, consider moving the extender to a new location where you intend to extend its network in your home. Avoid placing it near other networking devices or home appliances to avoid signal interference. Also, update the firmware of your Linksys extender to the most latest version to get the best possible performance from it.
You may also like
-
Enhancing Customer Engagement: Innovative Applications of Clarity Voice’s Communication Solutions
-
Solar Energy Solutions: A Sustainable Step Toward Long-Term Growth
-
AI Story Generator Free: A Smarter Way to Spark Creativity
-
Modern Technologies in 2025: AI and Innovative Solutions
-
Mastering Odoo Implementation for Business Success

