Under numerous circumstances, you might have to reset your Rockspace extender. For instance, you could be facing an issue that is not resolved. Or, your Rockspace range repeater is not giving optimum performance. Furthermore, if you have forgotten your login credentials, resetting the Rockspace extender is usually followed. Even if you are unable to complete Rockspace WiFi extender setup, then also you may need to reset it once.
But, plenty of users have no idea how to reset the Rockspace extender. So, we have listed down a comprehensive guide to assist you with the reset process. You have the liberty to choose between two different methods to reset your Rockspace extender. Let’s move further.
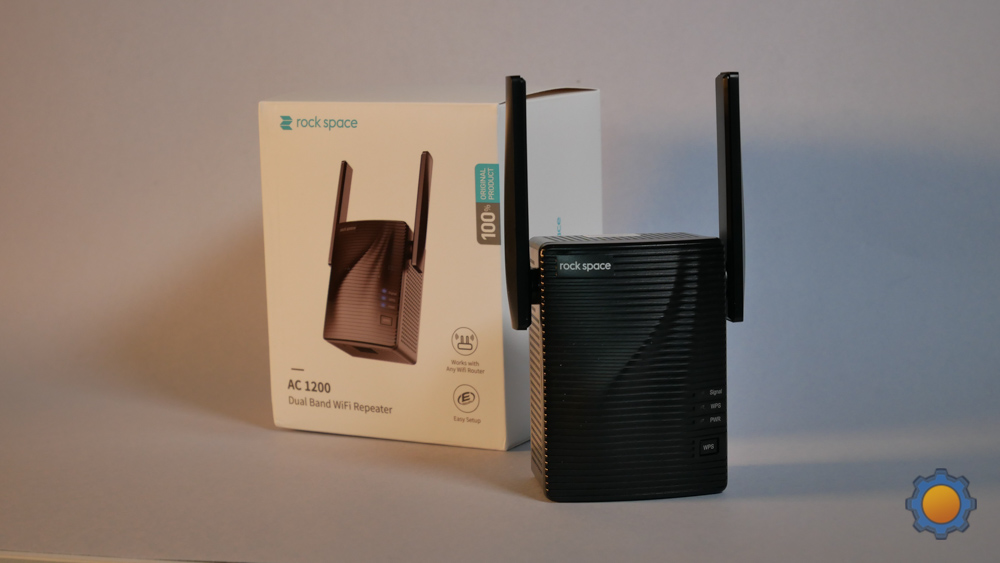
Method 1 – Reset Button (Hard Reset)
If you don’t want to get through more hassle, you can choose the hard reset method. So, let us guide you so that you can reset your device.
- To start the process, you must turn on your WiFi extender.
- Choose a perfectly working wall socket and plug in your device.
- Hit the start button on your device in case the range extender is not turned on.
- Press the reset button. After that, you need to wait for the reset process to initiate and complete.
- When your device restarts, you need to reinstall your Rockspace extender.
The Rockspace WiFi range extender reset process is complete. After that, you can easily reconfigure your Rockspace WiFi extender as per your preference. That was the hard reset.
Method 2 – Using Web Interface (Soft Reset)
Follow this method only when you can access the extender admin panel. If you have forgotten the admin password or are facing issues while logging in then this method stays invalid.
Turn on Repeater
Plug your Rockspace repeater into a wall socket. Press the start button on your Rockspace WiFi range extender. Wait until the device is turned on and gets stable.
Connect to Router
The WiFi extender should be connected to the internet. For that matter, you are going to need access to the host router. Hence, wired and wireless connections come into play. Depending on your choice, you can go with any one of the two methods to connect the devices.
If there are plenty of WiFi interferences, you need to choose a wired connection. It offers more stability and speed. However, if you don’t want to manage wires, you can link the devices wirelessly.
Open Internet Browser
You will need a computer or laptop to launch a web browser and do the repeater login. Therefore, connect a computer to a working wall socket and hit the start button. Now, open an updated and compatible web browser.
Do Repeater Login
Type the Rockspace extender login URL. When you enter the default repeater URL, it should be typed in the address bar only. If you use the search bar, you might have to deal with different results. So, carefully enter the URL. After that, you further need login details.
So, use the latest login credentials to do the login. That will give you access to the repeater dashboard.
Go to Reset Option
Once you are on the Rockspace extender dashboard, you can go to the advanced wireless settings. From there, choose the Reset option. That’s it. Your Rockspace WiFi extender will be reset to the factory default settings.
Wrap Up
As you can see, resetting your device can be done through two different methods. You can choose the one that seems easier or with which you are more comfortable. After the reset process, don’t forget to reinstall your Rockspace WiFi range extender. Refer to the Rock Space WiFi extender manual to know the setup steps. Let us know in the comment section which method you used to reset your range extender.