Nowadays, millions of people perform the Arlo Go 2 camera setup to protect their properties. But during the configuration, they face issues as they are not aware of the setup steps. If you are also facing issues and looking for guidance, then you have come to the right place. In this article, we will walk you through the Arlo camera setup instructions.
Well, before we discuss the steps of the Arlo Go 2 camera we would like to tell you about the important things that you will require during the installation.
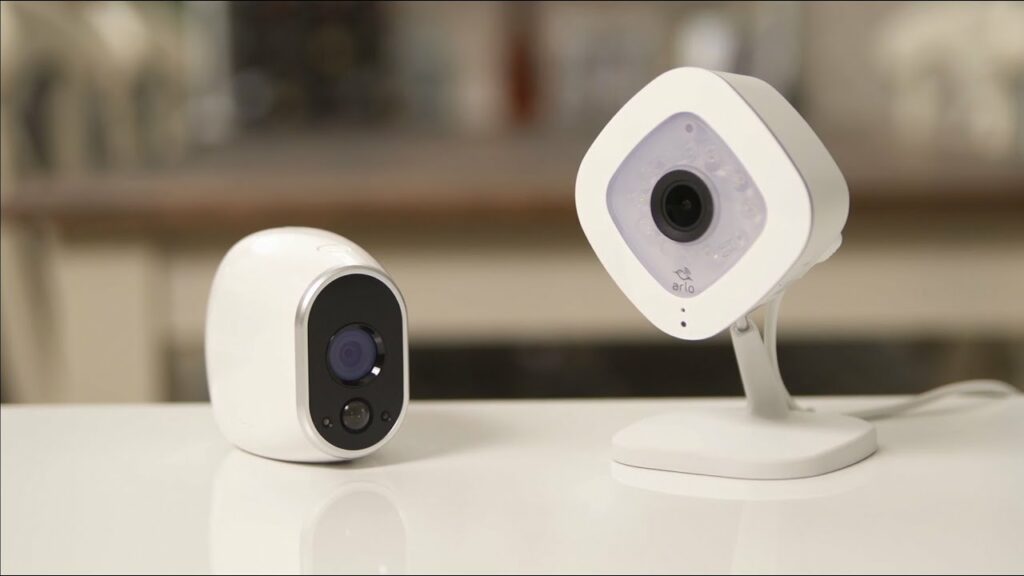
Prerequisites | Arlo Go 2 Camera Setup
Here is the list that contains all the important requirements of the Arlo camera setup:
- A high-speed internet connection from the router and ISP.
- Quality Ethernet cable to connect the router to Arlo SamrtHub or Base station.
- A device like mobile and tab.
- 30 percent camera battery.
- Activated SIM card with a data plan.
- Default admin details.
These are the things that you have to get prepared to get the Arlo Go 2 camera setup successfully. Now let’s move further to learn the setup.
Arlo Go 2 Camera Setup Instructions
Step1: Initial Setup
- Setting the Arlo camera involves a few initial steps that are mentioned below:
- Unlock the battery compartment by pressing and holding the latch.
- Pull the battery door back to open the battery compartment.
- Insert the SIM card into the camera.
Note: If you plan to store video recordings on an optional SD card (sold separately), insert the SD card now.
- Now insert the batteries into the camera.
- Close the battery door.
- The Arlo Go camera plays a chime when it boots.
Note: The Arlo Go battery is partially charged when it leaves the factory.
Step2: Get the Arlo App
To download the Arlo app easily you can scan the QR code or search about the app on your app store. If you already have the Arlo app on your device, then make sure it running on its updated version.
Step3: Download the Arlo App
- To download the Arlo app on the device you need to go to the app store of your device.
- You can use the Google play store for Android devices and Apple Store for iOS devices.
- Now, search the app, in the application store.
- Put it on the downloading.
Step4: Install the Arlo App
- Once you are done with the downloading process, now you need to install the app.
- Access all the conditions while installing the app.
- Permit the app.
Step5: Open the Arlo Application
- After completing the installation process, launch the app on your device.
- Do not use any other application during the process.
Step6: Create Arlo Account
- Give the ask details for the Arlo camera login.
Note: If you already set up an Arlo account, log in, and tap or click “Add Device”.
Step7: Add Arlo GO Camera
- Now go to the Menu settings.
- Go to the SYC option.
- Tap on the SYC button.
- Now you heard the chime sound.
- Tap on the Yes, I heard a chime.
- SAVE the settings.
Congratulations! Your device has been installed successfully. Now you are in the dashboard of your Arlo camera.
Thus, in this way, you can easily get into your device. In case you face any issues during the login, then restart the device or cross-check the login steps.
Read more- SIX TIPS TO FIX NETGEAR ROUTER NOT CONNECTING TO INTERNET ISSUE