Transforming a dull wall, a boring fence, or an unsightly view into a vibrant green oasis does not require a green thumb or years of patience. Artificial hedging provides instant beauty and years of privacy with almost no maintenance. The procedure is straightforward, whether creating a small decorative feature or a large privacy screen.
Special Considerations for Different Projects
The basic method applies to most projects, but certain projects have particular requirements. For example, installing a keep calm and carry on Artificial Bamboo Screening roll onto a chain-link fence is even a simpler affair. The screening simply ties right to the fence by cable ties or zip ties weaved through the links and the bamboo backing.
For a freestanding divider, attach panels to a pre-manufactured wooden or metal frame. For balcony or railing situations, you can often use stout weather-resistant wire to secure the panels safely or use tough ties for fastening. Always be sure that everything you attach the hedge to can withstand the wind and weather.
Learn About Your Artificial Hedge
Before you begin working with it, it would be wise to understand what you are going to work with. Artificial hedges are made of UV-resistant plastic and look very real. They appear in various forms: from small interlocking panels to large roll-out mats. Some are flexible for curvy surfaces while others are rigid.
Get to know your own product. Unroll or lay your panels out on a clean, flat surface for a few hours before installation. This allows all the creases from packaging to relax and makes the material easier to work with for a more smooth and natural looking final appearance.
The Installation Steps: Attach the Panels
From where you started, follow your guide line. Make sure that the first panel is up against the wall and level while a friend or other helper holds it. Now, with the help of your power drill, screw through the panel back and into the wall. Most artificial hedges have predesignated areas for insertion of screws, usually where the foliage is densest to help leather fasten the fastener.
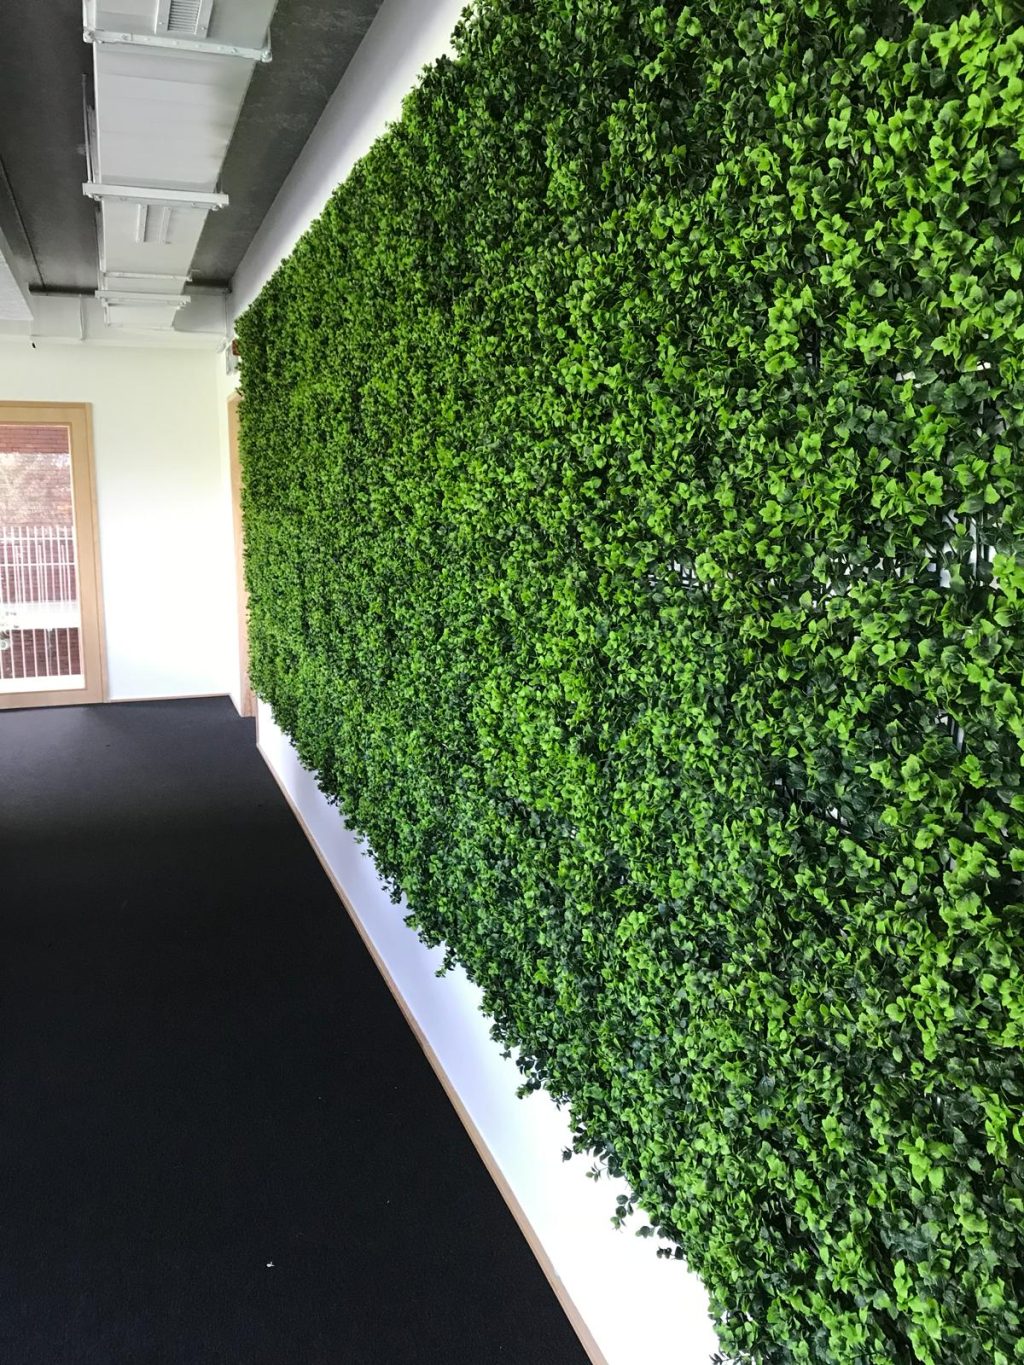
First fix the top corners, then put screws along the top edge, and then down the sides. Over-tightening the screws can cause the panel to distort. Avoid doing this. Simply make sure they are tight and safe. Keep this approach going with the following panel, pushing it close up against the first one. Much like laying bricks, staggering the seams between rows will give a more smooth and natural appearance particularly for a big Artificial Plant Wall.
Collecting Your Tools and Materials
The right tools just make any job easier. For most artificial hedge installations, let’s say basic toolkits will suffice and nothing very specialized is needed. You will most likely have at least a tape measure, a level, a pencil, a power drill with drill bits, and screws that fit the material of your wall (for example, concrete screws for brick or wall plugs for drywall). Moving on to wood: If you want to attach hedge to a wooden. The wood screws are perfect for fencing application.
Also a sturdy pair of scissors or utility knife for cutting panels to fit particular spaces is also suggested. Depending on the project, you may also need a stapler for some cases and tie wire for others as alternate fastening methods bringing everything together before you even start will help keep the smooth in your work.
How Now do You best Prepare a Surface for Installation?
Every installation begins with a surface to which the hedge is supposed to attach, be it along the wall of a garden fence, cement bricks or a dry wall hollow, make sure a clean stable surface is provided. Kick brush away all cobwebs, dirt and loose materials. If the surface is wet let it dry completely before proceeding with the installation.
Check wooden fences for rotten boards that would need replacing as the hedge added would add weight hence a very solid foundation required for the hedge. Preparing the area for just a few minutes will save a lot of hassle later and make your newly planted hedge look its best from day one.
The Critical First Stage: Measurements and Preparation
This is the most important stage for avoiding errors and waste of material. Measure the height and width of the area you wish to cover. Now measure the artificial hedge panels. Plan the arrangement. It is usually a good idea to start from a corner or an obvious edge and move across. If your panels require trimming to fit at the end of a row or around an obstruction, such as a light fixture or outlet, plan for it.
Lightly mark the locations of the panels on the wall with your pencil. A level is of utmost importance at this stage. Draw a light horizontal line where the tops of your first row of panels will follow. This guide line will assure that your whole hedge is perfectly straight and looks fabulously done.
Establishing a Natural and Perfect Look
Concealing the panel seams is the secret to a real-looking installation. Take a minute to weave the leaves from one panel with those of its next as you add each fresh panel. Gently draw a few strands of greenery across the next panel to help mix the two portions.
This easy technique almost hides the seams and turns single panels into a single, luxuriant green surface. Stand back sometimes to view your work from afar. This guarantees the last outcome is absolutely coherent by helping you identify any spots that call for extra mixing or correction.
Including the Finishing Details
It is time for the finishing touches after all of your panels are properly fastened and mixed. Stand back and appreciate your effort. Search for any apparent screws; should you find some, just grab a few stray leaves from the extra foliage usually provided with panels and Hide it by tucking it into the screw head base. With your scissors, cut any dangling strings or leaves. Fluff the foliage and get rid of any dust by gently shaking the whole hedge or using a leaf blower on a low setting. giving it a full, lively look.
Looking After Your Fresh Artificial Hedge
One of the main advantages of a manufactured hedge is its minimal maintenance needs. It won’t need trimming, feeding, or watering. An occasional rinse with a garden hose will remove pollen and dirt and help it seem fresh. A gentle soap and water solution with a soft cloth will work for more obstinate dirt.
Through every season, your lovely green installation will stay vivid and lush, giving you everlasting privacy and beauty free from any effort. Now you can savor your amazing new area, evidence of a small weekend activity with amazing outcomes.
Read More Articles: https://sohago.com/
You may also like
-
Get Exclusive Diwali Offers on Whirlpool Double Door Refrigerators
-
Who is Best Pipe and Joint System Supplier in Malaysia
-
How Same-Day Garage Door Repair Westchester Saves Time and Money
-
Residential Garage Door Repair Brooklyn | Safe & Affordable Service
-
The Hidden ROI Behind Smart Office Interior Design